openSUSE 11.0 的安裝真是再簡單不過了(當然分割磁碟除外,您最好找人幫忙看著)
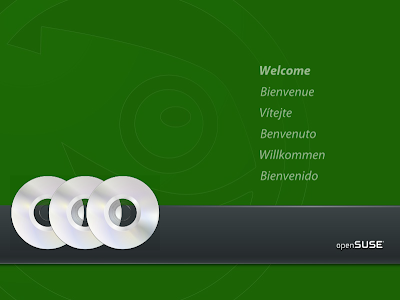
放進光碟開機的第一幕美麗畫面
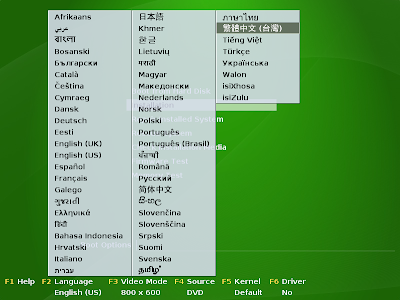
按 F2 選擇繁體中文,按 F3 選擇畫面解析度
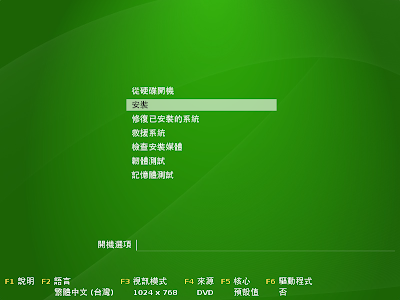
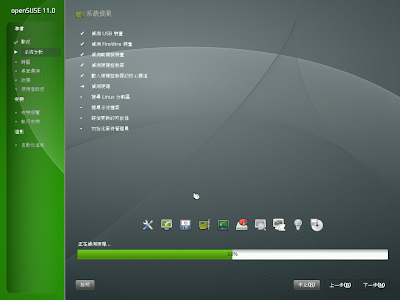
中文安裝選單
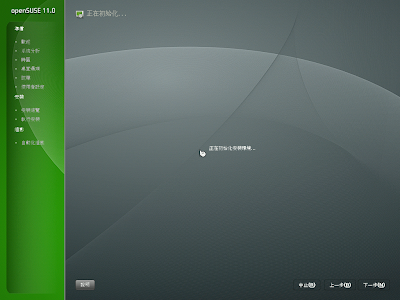
開始安裝,此時按下 Esc 可以看它在跑什麼

中文字不好看,這就是 qt4
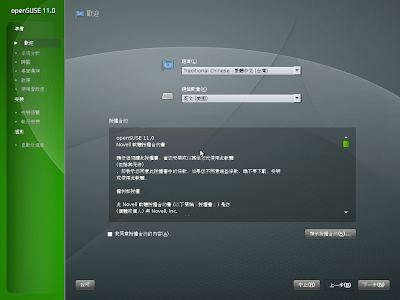
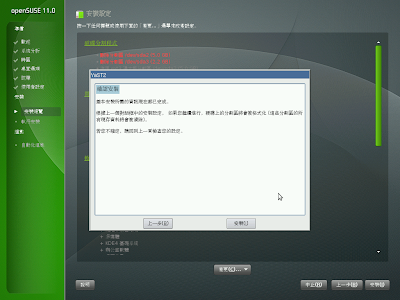
說我願意,然後按下一步
跑跑跑...
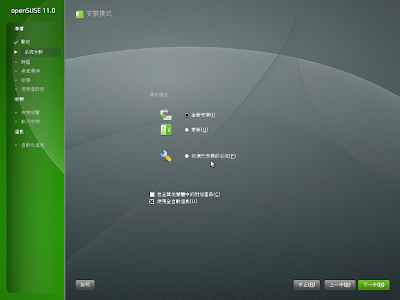
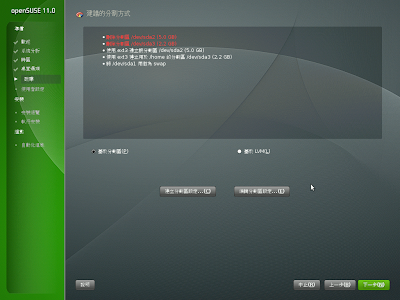
通常我都選全新安裝(因為 /home 在另一分割區,到時注意不要格式化,資料即可保存)
而且升級的速度會很慢,還要叫你自己搞定一些奇奇怪怪的相依性
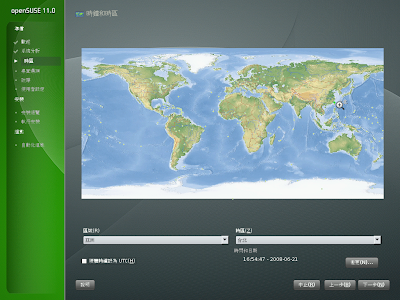
選擇時區,注意左下角通常不要設成 UTC
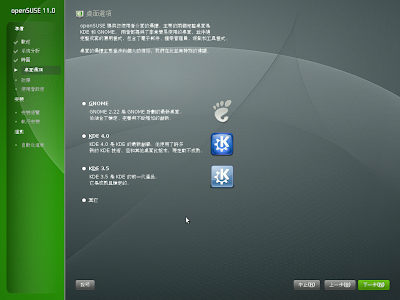
選擇桌面,注意沒,他說 KDE 4.0 目前尚未成熟喔!
好,現在選擇 KDE 4.0 (怕的真的不要裝,因為我是裝在 virtualbox 中,是裝假的)
紅色就是要格式化的部分,要注意
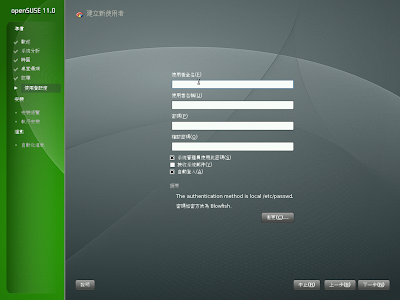
這裡是唯一要打字的地方
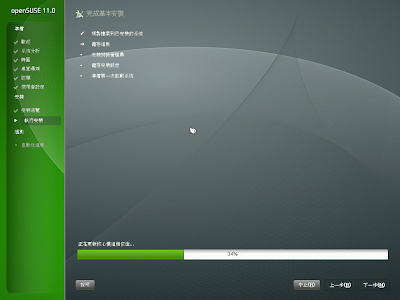
安裝總覽

pass the point of no return...
從這裡開始,你可以去喝杯咖啡,半小時候再來就會看見 KDE 4.0 了
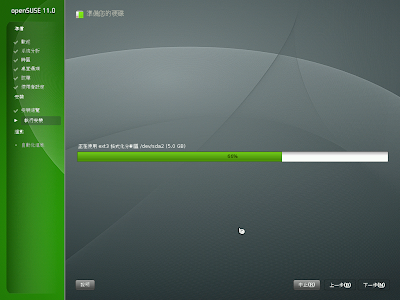
openSUSE 11.0 採用影像安裝的技術,真的很快,通常半小時內結束
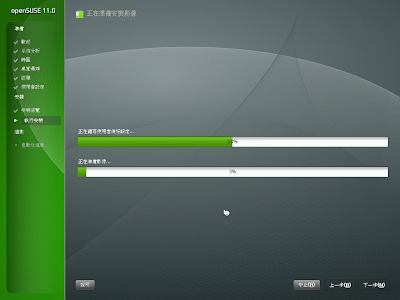
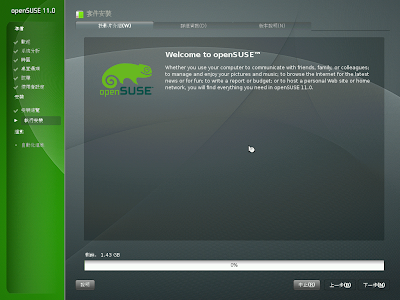
接下來是全球統一的英文投影片介紹(你罷翻譯是翻假的喔!),所以後面就不看了
安裝完了準備重新啟動
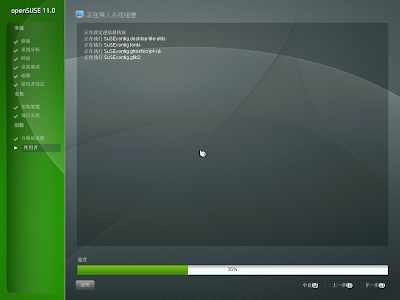
重新開機後會進行自動化組態
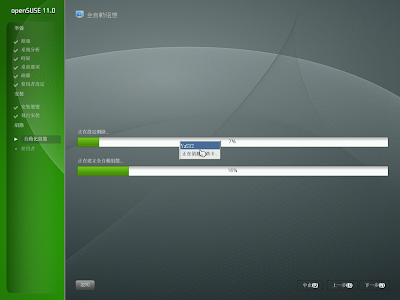
最後寫入設定
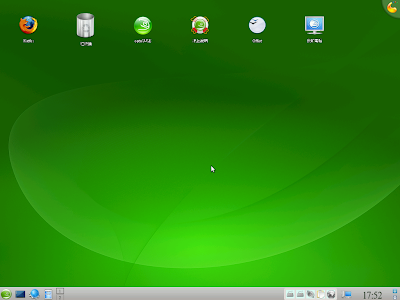
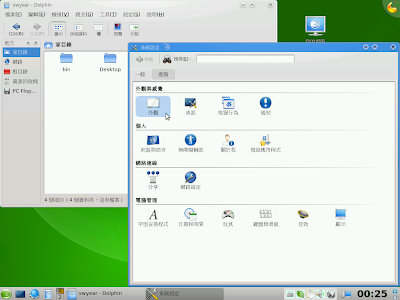
openSUSE 11.0 的 KDE 4.0 的 splash
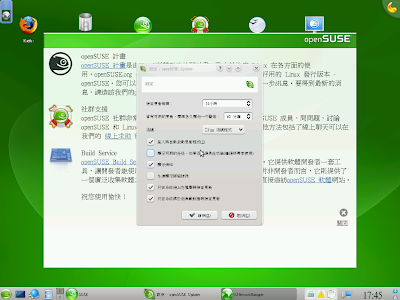
和 KDE 4.0 首次見面請多指教,openSUSE 歡迎辭會出現,updater 也會跑出來湊熱鬧
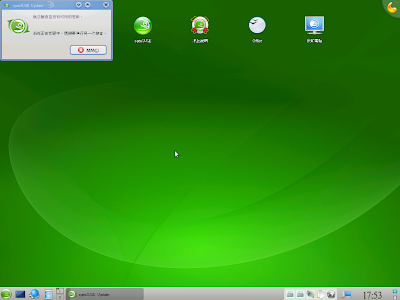
請您務必不要不理那個 updater,請隨便找幾個地方按一按動一動,然後最後改回原設定
不然他會一直出來煩,對啦對啦,我知道字很難看,等下再說
如果剛才您和 updater 處得不錯,按確定後它就會變問號,在問號上點一下
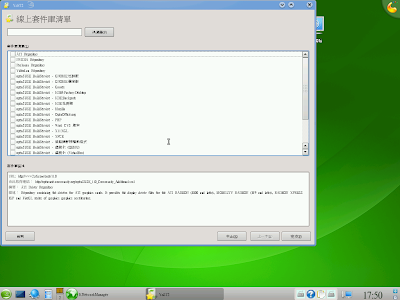
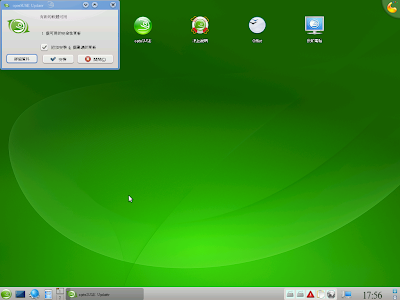
開始自動設定更新以及套件庫
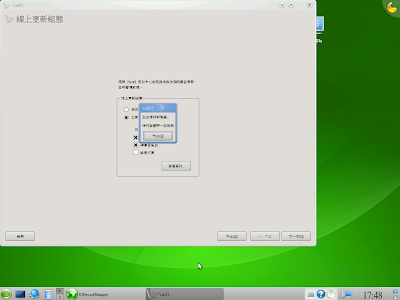
選擇套件庫,今天沒空玩這個,就先不說明了
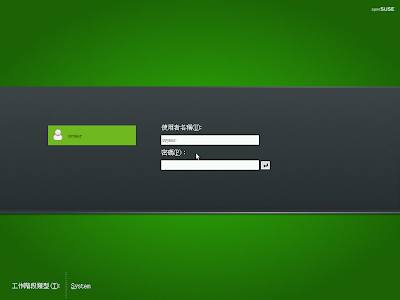
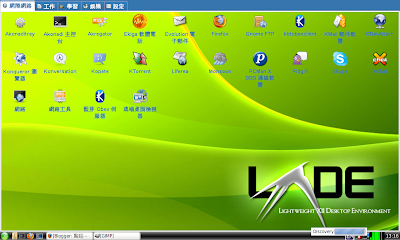
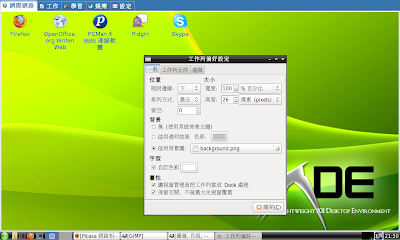
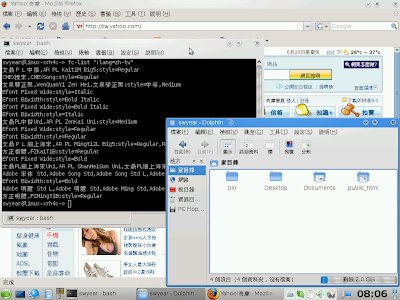
登出,讓您看神奇的事(對啦字很難看,等下啊)
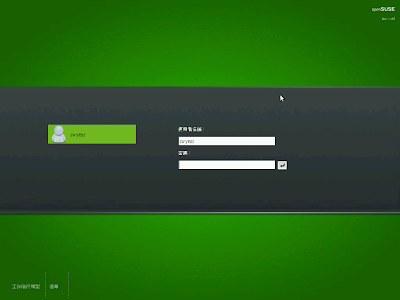
Wow! 兩個 scim Ya!
看這裡:
https://bugzilla.novell.com/show_bug.cgi?id=398526因為...
自己看稍微解釋一下好了,不知道我的理解有沒有錯
問題應該是出在 qt4
不過解決的補釘因安全性未被接受
另一個方法則是從 kdm4 著手
想辦法讓 kdm4 不要啟動輸入法
但未有詳細的作法...
問題並不是出在 scim-bridge
暫時解決方案:把 scim-bridge 及相關套件移除
# rpm -e scim-bridge scim-bridge-qt scim-bridge-gtk
試了一下,移除這些套件之後仍可在 kwrite, openoffice, firefox 中輸入中文
也是試了好久才試出來,所以後面還有好幾張有兩個 scim 的
另一種暫時解決方法:改用 kdm3 ,請參考
就是要用 scim-bridge如果 updater 變成灰色,就表示系統忙碌(搞不好是 beagle)
等到不忙時, updater 就會偷偷檢查,變成紅色三角形,就是有更新了
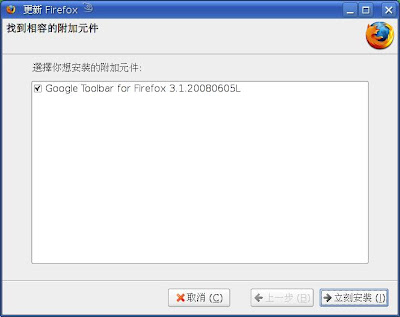
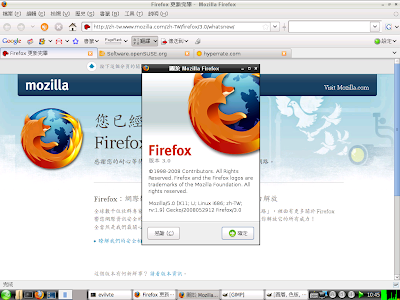
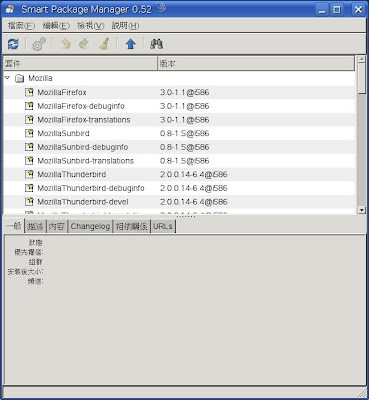
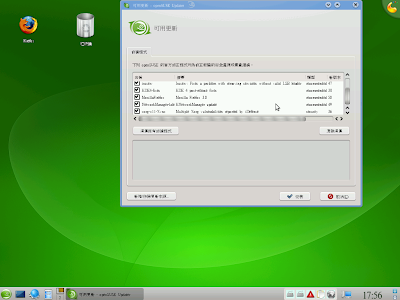
看看更新哪些?有 firefox 3.0 耶
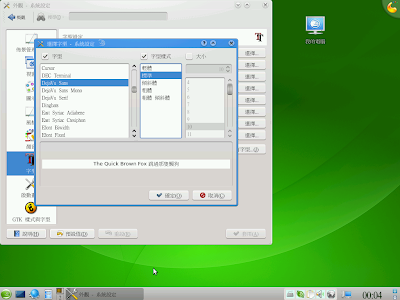
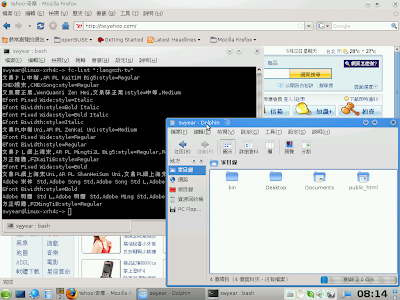
更新完後我們看看如何把字型弄好看些
依照慣例 KDE 桌面都要將字型設為英文字體比較好看(我喜歡用 DejaVu Sans)
(其實在 en 的 locale 時,加裝中文字體及翻譯檔,字體顯示就是我想要的)
KDE 4.0 中尤其 monospace 一定要設英文等寬字型,否則 konsole 的游標位置以及排版都會不正確
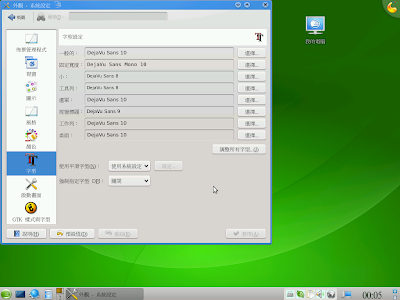
字體大小等調完解析度之後再調整
解析度問題主要是因為全自動設定還不夠聰明的關係
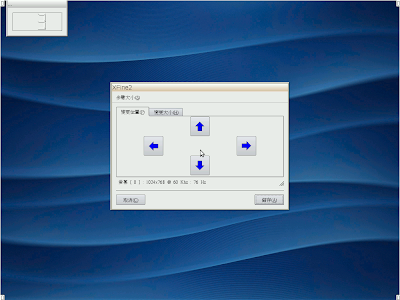
請用 root 執行 sax2
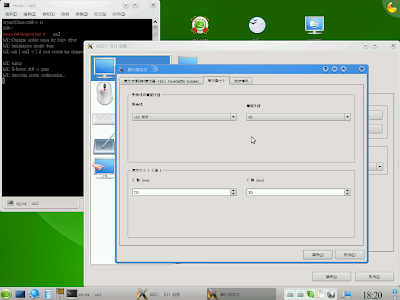
選擇適合的掃描線數與螢幕尺寸
如果您沒有特殊用途,螢幕尺寸倒是可以隨便設
1024x768 選擇 13.3 吋 4:3 螢幕,剛好是 96 dpi(適合用 firefly-sung 或 uming 的內嵌點陣字)
若解析度更高,用黑體字效果不錯
注意:在 KDE 中, dpi 越高,同一號數的字型會越大
調完 dpi 再回控制中心選擇適當的大小
別忘了要測試一下確定您的螢幕承受得起
這樣調完之後其實就可以看了!
接著我們要升級 freetype2 (subpixel-hinting)
和 libqt4 (粗體字)
# zypper ar http://download.opensuse.org/repositories/M17N/openSUSE_11.0 m17n
# zypper in -r m17n freetype2
# zypper ar http://download.opensuse.org/repositories/home:/hujq/openSUSE_11.0 hujq
# zypper in -r hujq libqt4 libqt4-qt3support libqt4-x11 libqt4-sql
重新登入就可以顯示粗體字了
接下來是您的選擇
要使用點陣字還是黑體字
要使用文泉驛正黑體:
# zypper ar http://download.opensuse.org/repositories/home:/swyear/openSUSE_11.0 swyear
# zypper in ttf-wqy-zenhei
安裝 swyear 套件庫中的字型都會一起下載 chinese-fonts-setting 這些設定檔
使用說明不妨看一下 /usr/share/doc/packages/chinese-fonts-setting/chinese-fonts-setting.README
黑體字的效果
解析度較低的螢幕用黑體字應該不是很舒服
使用系統搭載的 uming 字型,不必另外安裝字型
可以得到較佳的顯示效果
其實您只要調整 /etc/fonts/suse-post-user.conf 的字型順序即可
懶得動手做的
# zypper ar http://download.opensuse.org/repositories/home:/swyear/openSUSE_11.0 swyear (已經有這個套件庫的就免)
# zypper in chinese-fonts-setting chinese-fonts-setting-kde4-bitmap (已經裝 chinese-fonts-setting 的也免)
或者直接移除 CMEX 字型
# rpm -e ttf-cmex-song ttf-cmex-kai
uming 字體的效果
我在這裡順便說明一下 chinese-fonts-setting 這個設定檔
會在您的 /etc/fonts/conf.avail/ 中放
57-kai.conf
57-kai-hei-hei.conf
57-kai-sung-sung.conf
57-kde4-bitmap.conf
57-sung.conf
這 5 種設定檔,預設將 57-kai-sung-sung.conf 連結到 conf.d
除了 kde4-bitmap 外其他都是連結到 conf.d/57-chinese-fonts-setting.conf
所以您可以自己動手改變連結即可
順便筆記一下,這次 virtualbox 抓圖切邊的 script
每一張圖原本都存成 1.png 2.png ...
#!/bin/bash
for (( i=1; i<=49; i++ ))
do
echo "正在處理 "$i".png…"
convert $i.png -crop +0+65 +repage s1_inst$i.png
convert s1_inst$i.png -crop +6+0 +repage s2_inst$i.png
convert s2_inst$i.png -crop +0-33 +repage s3_inst$i.png
convert s3_inst$i.png -crop -6+0 +repage openSUSE_11.0_inst$i.png
#convert -quality 75 s4_inst$i.png inst$i.jpg
echo “刪除暫存檔…”
rm -rf s*.png
done
echo “完成”